Marble countertops are a pinnacle of beauty and elegance. They elevate every kitchen and bathroom they are installed in. Marble countertop installation can seem impossible to do on your own. However, with this handy guide, you can accomplish the task without issues.
An Introduction to Marble Countertops
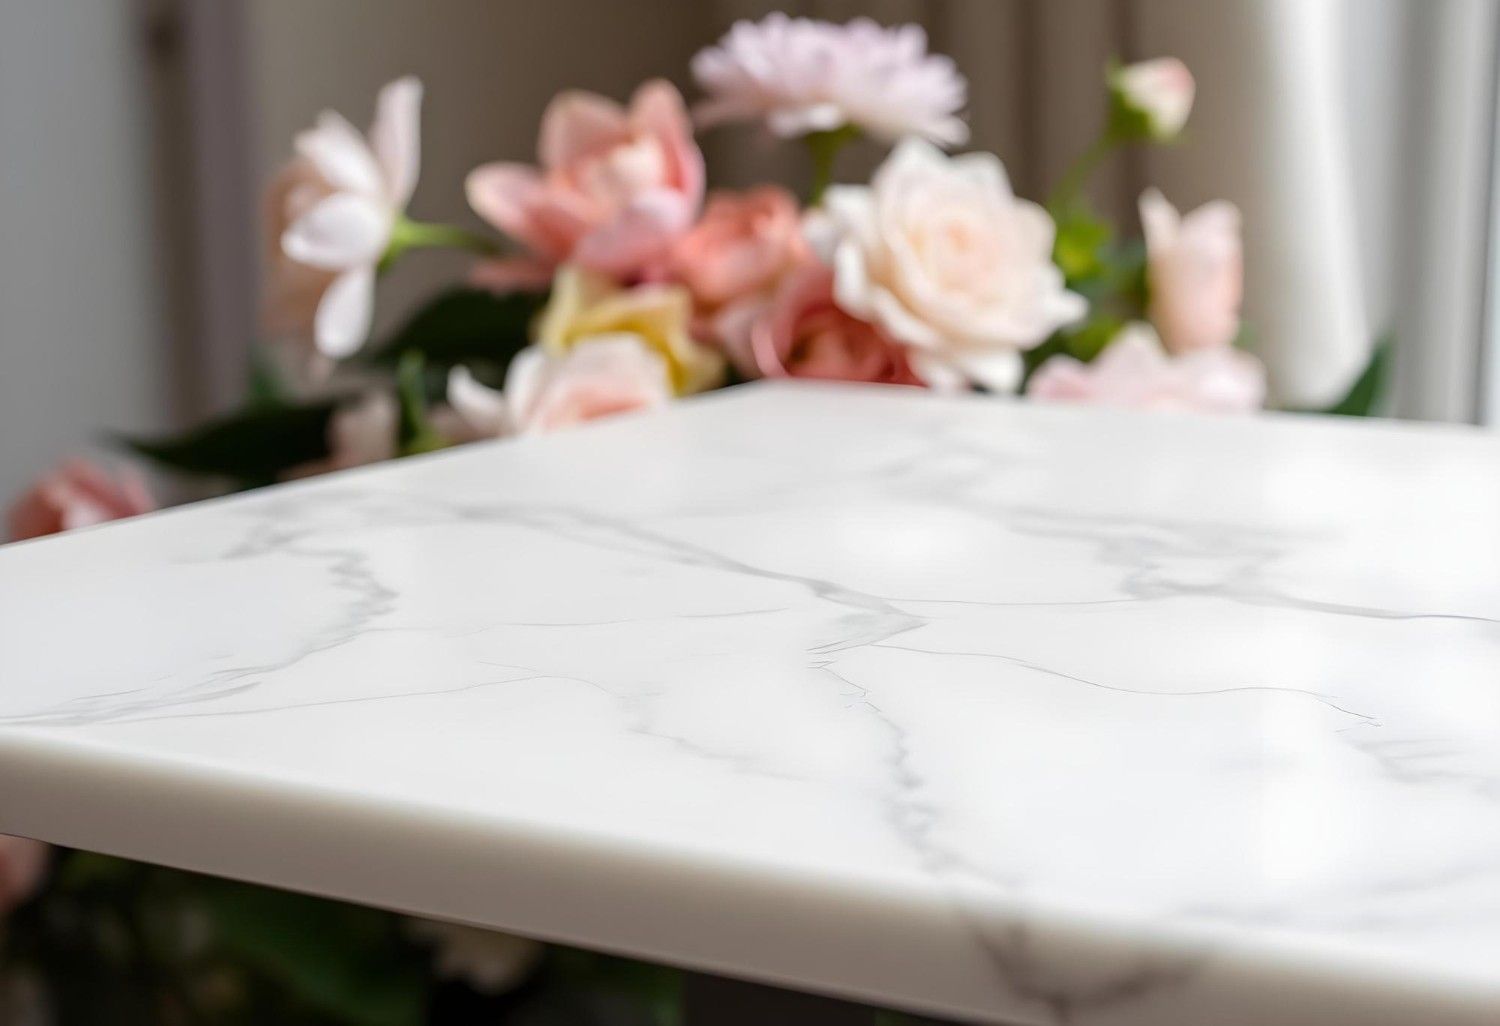
Marble countertops bring a timeless aura to any space that is installed. Marble is one of the most popular stones due to its gorgeous appearance and elegance. It is most commonly found in light and neutral color variations such as light gray and beige. As it is a soft stone, the installation process of marble can be more challenging. You will need to be careful in how you handle this precious stone to avoid damage.
Why Choose Marble Countertops?
Marble is a sought-after countertop material because of its eye-catching beauty and unique qualities such as the ability to stay cool even in warm climates.
Its natural beauty is undoubtedly what draws most people to marble. It has a unique appearance that cannot be mimicked with engineered stones. It has a naturally occurring slightly transparent base that gives the stone the appearance of glowing from within.
Marble is also highly resistant to heat. You can place hot pans, pots, and trays straight out of the oven or stove on the marble countertops without having to worry about damaging the stone.
Marble is also naturally resistant to UV rays, making it an ideal option for homes that get a lot of sunlight. The gorgeous colors and patterns of the marble slab won’t fade or get dull over time because of the sun’s rays.
Preparation for the Installation
Before the installation process, you should gather all of the tools you will need. One of the most important items you will need is a measuring tape. You will also need a pen and paper so you can write down the measurements accurately.
A level is a must-have for marble countertop installation because the cabinets need to be level for the best countertop installation. A ruler and carpenter’s square are useful items to have on hand and they will help you with ensuring everything is aligned properly. A high-quality adhesive will help hold the countertops in place and a marble sealer will prevent staining in the long run.
During the marble countertop installation project, don’t forget to wear the appropriate safety gear. Goggles and gloves will help protect your eyes and hands against marble dust. Wear comfortable clothing that completely covers your body for further protection.
 1")
Marble Countertop Installation: Step by Step
Installing marble countertops takes a lot of careful planning, measuring, and preparing. Skipping the following steps will result in improperly installed countertops that will be prone to cracking and chipping.
Measure the Space
Accurate measurements are crucial for the marble countertop installation. Measure the length and width of the countertop area carefully and measure once more to be sure. Don’t forget to measure around the sink area and account for the stove. If there are other fixtures on your countertops, measure them as well. This is an important that needs a lot of attention because any mistakes that are made in this step can be costly.
When measuring the countertops, drawing a rough sketch of the layout of the room can be helpful. It will help you better visualize and spot possible mistakes. Marking the locations of appliances and pieces of furniture in the room will be useful during the cutting step.
Making a Template
Make a template of the countertop area using cardboard or plywood. This will ensure that the countertops will be a perfect fit. Place the material you are using on the cabinets and draw around the perimeter, also marking the sink or other appliances.
This template will guide you during the cutting step, therefore pay extra close attention to see if it is cut to the correct dimensions and fits seamlessly with the cabinets.
Select the Marble Slab
Visiting a reputable supplier to choose your marble slab is the best course of action. This will ensure that you will get a high-quality slab with consistent colors and veins. As a natural stone, each marble slab has a unique appearance, like fingerprints. The slab you pick will be exclusive to you, so go through all of the available options and choose the one that fits in with your aesthetic vision the most.
Cutting the Marble
Cutting the marble takes a lot of precision and forethought. You can use a wet saw with a diamond blade to cut the marble accurately while following the guidance of your template. Wear safety gear and don’t apply too much pressure on the saw during the cutting. Let the diamond blade do its work while you gently guide it.
Using a wet saw is a great way of reducing the dust and debris that will get everywhere during the cutting. However, it won’t eliminate them. So you should work in a well-ventilated area. If you are not comfortable with cutting the marble yourself you can consult with professional installers who can help you with cutting the countertops.
Dry Fitting
Before the application of the adhesive, dry fit the marble countertops on the cabinets. This will be your last check to see if any mistakes need fixing. Align the edges, check the seams, and use a level to check if the countertops are perfectly flat.
Installing Plywood Base
Installing a plywood base will add more support and the base will help distribute the weight of the marble countertops evenly on the cabinets. Cut the plywood to be the same size as the countertops and use screws to secure it on the cabinets. Check the base layer with a level to make sure it is flat as well.
Applying adhesive and placing the marble
Apply an even coat of high-quality adhesive on top of the plywood base. Spread it evenly to cover every square foot of the base. Try to work quickly so the adhesive doesn’t have time to set before you can place the countertop.
Before applying the adhesive, read the instructions of the manufacturer on the package. This will guide you through the process and give you pivotal information such as how much adhesive you should use and how long you should wait for it to set.
Carefully place the marble on the adhesive and press down gently. Use a level to check if any adjustments are needed. You can use clamps to adhere the marble to the plywood.
Sealing the seams and finishing touches
After ensuring the marble is in place, seal the seams using an epoxy that matches the color of the marble. This will help prevent moisture from seeping into the stone and causing damage. After the application, smooth it out and remove excess.
Once the epoxy is dry, clean the countertops and apply a marble sealer. The sealer will prevent stains and bacteria, moreover, it will make the countertops easier to clean. Apply the sealer in an even layer following the instructions of the manufacturer.
Maintenance
Now that the marble countertop installation is finished, there are a few steps you should follow to keep it looking its best.
Acidic substances can cause natural countertop materials such as marble to etch. This will appear as a dull-looking spot. Avoid harsh and acidic cleaners and if your countertops directly contact liquids such as lemon juice, clean the area thoroughly.
Wipe the countertops daily with a soft cloth and mild dish soap to avoid build-up or hard water stains. If your countertops have intricate edge profiles, make sure to clean the profile of the countertops thoroughly so they can’t harbor dirt.
By following these easy steps, you can easily install marble countertops on your own. These countertops will refresh and elevate the beauty of your home while enhancing the practicality of the workspace. Moreover, you will be satisfied with the knowledge of finishing this project on your own.
Also Read: